How to save a web page as a PDF
03/13/2025

This article is going to examine one way to save a web page (in this case a news article) as a PDF. I recently got into archiving and wanted to share this method. Maybe you are like me and want to archive web pages or maybe you have another reason to want to download web pages as PDFs. That’s awesome! Preserving information is important work!
Now before we get into the details of how to do so, I need to point out that this may be an ethically gray area as some websites may not allow that. Can they stop you? Probably not. Just keep this in mind. I don’t think there’s anything wrong with preserving information for personal use, but if you are unsure, check the website’s terms and conditions.
If you prefer a video walk through, check out my YouTube video on how to do this here.
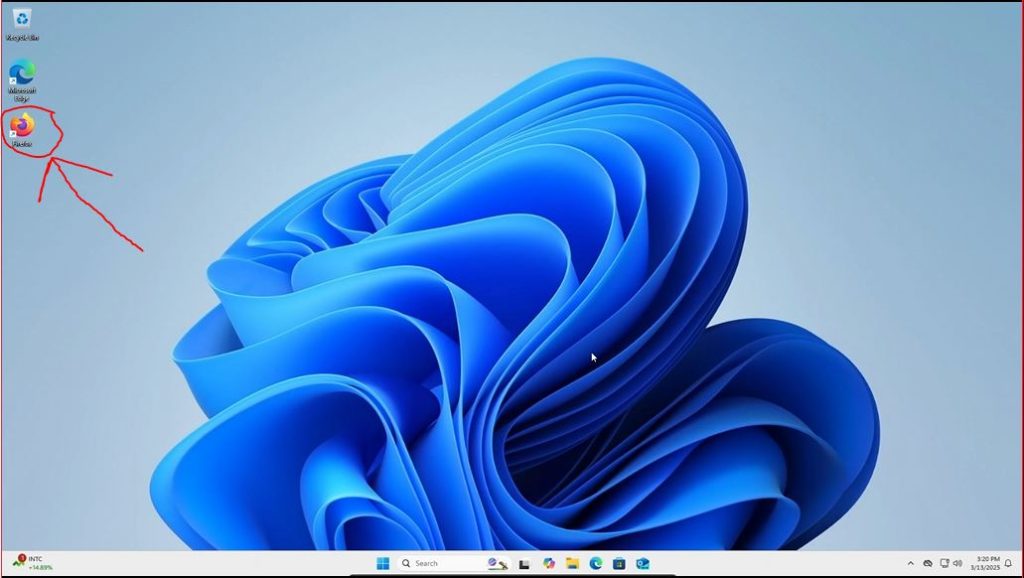
To do so we will be installing a browser extension. The first step we will do is opening up our preferred web browser (double click the icon if it is on your desktop). I am using Firefox. I recommend Firefox for this as I am not sure what other browsers this extension is available for or works on. It works mostly fine on Firefox from my personal experience. If you don’t have Firefox installed and need help installing it, check out my blog post here in which I do so!
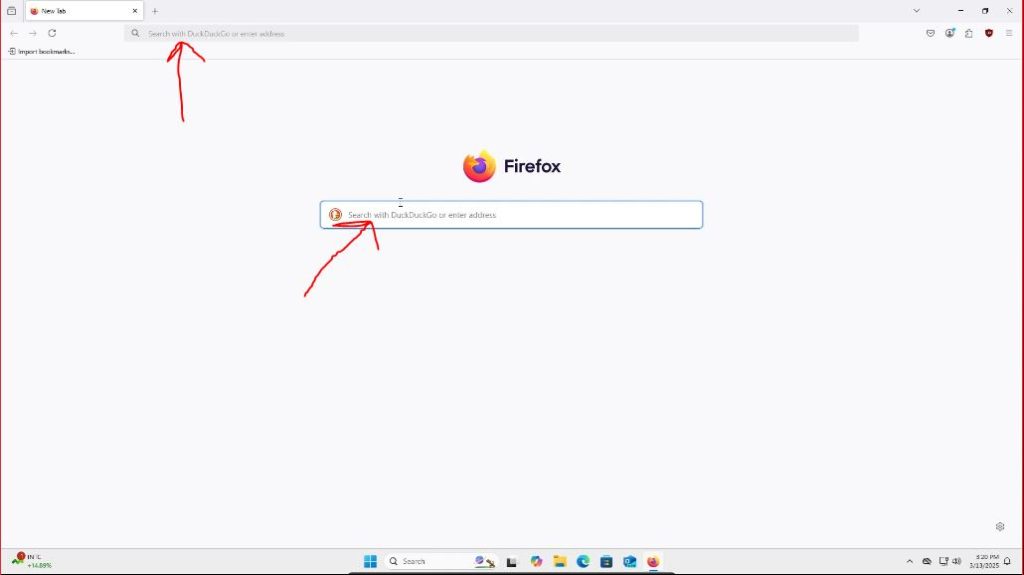
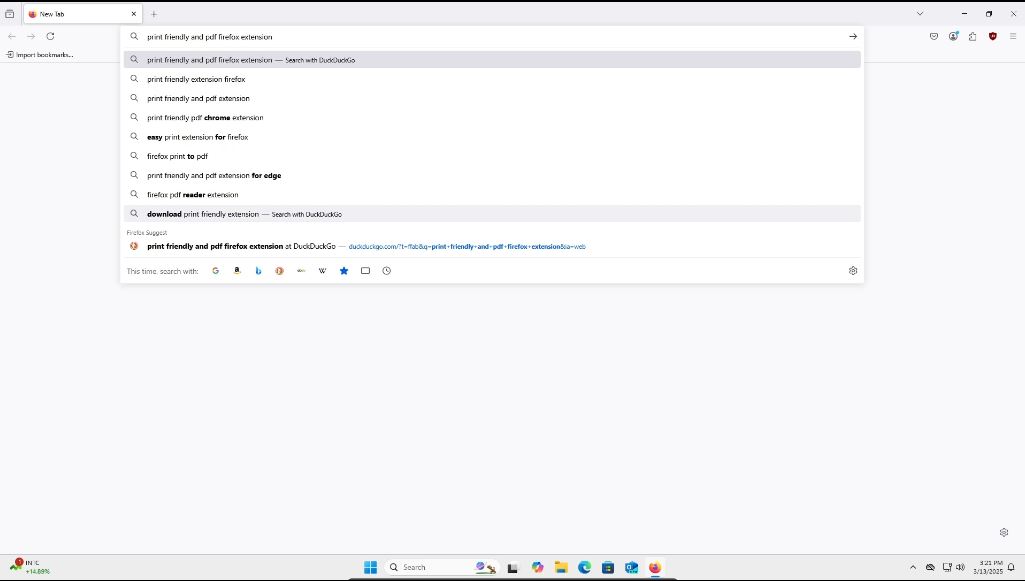
Once we have Firefox open (or another browser if you know it will work), we want to search for “Print Friendly and PDF Firefox extension.” Or alternatively, you can copy and paste this link into the URL box or just click it: https://addons.mozilla.org/en-US/firefox/addon/print-friendly-pdf/
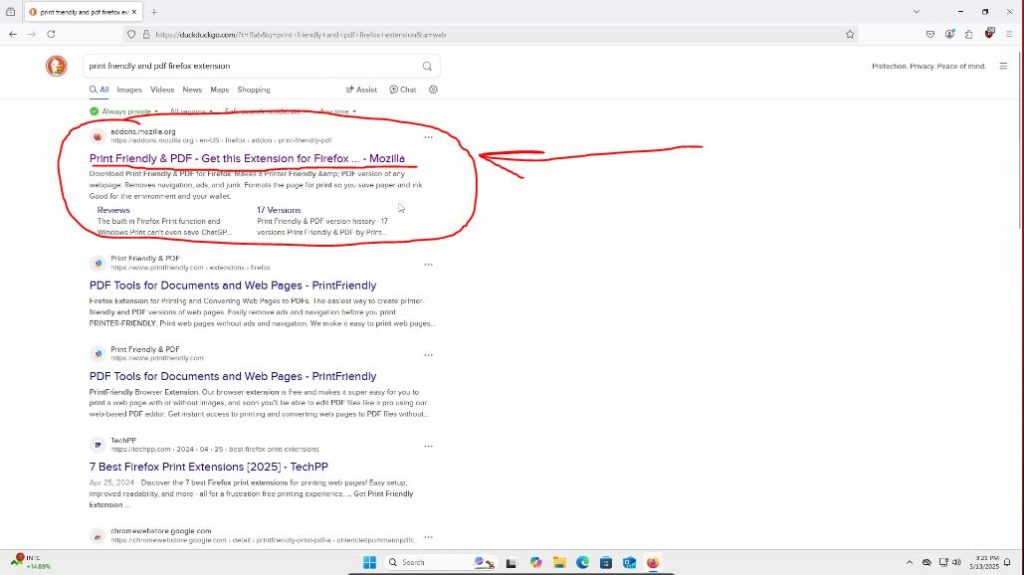
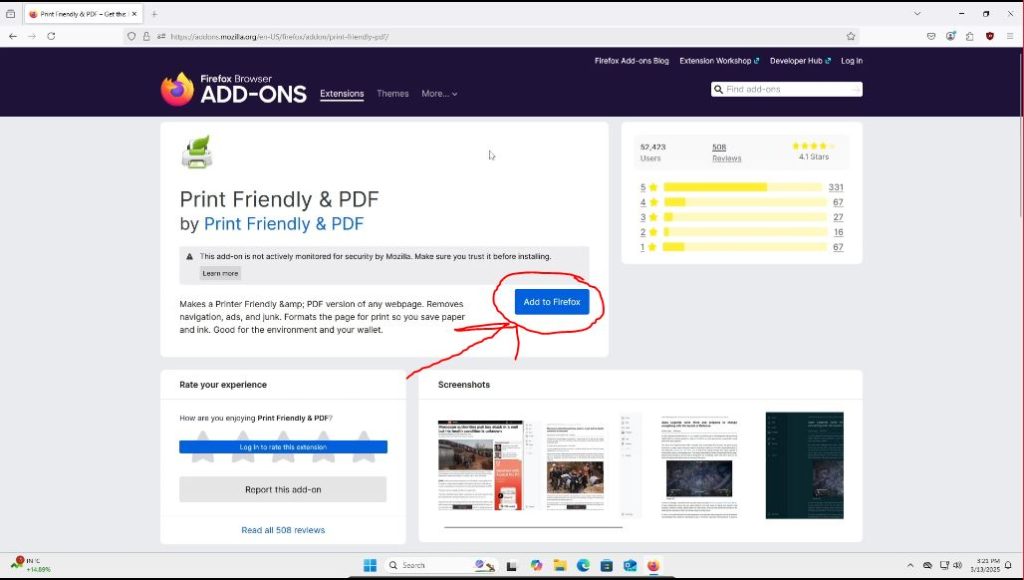
If you searched for it via your preferred search engine, you will want to click on the appropriate link. It is likely the first non-ad link, but make sure it matches this screenshot.
Once we are on the extension page, all we have to do is press the “Add to Firefox” button (or it might say your browser if using another browser, like Microsoft Edge for example).
Note: This extension isn’t monitored for security by Mozilla and has a decent chunk of 1 star reviews. There is some inherent risk in adding this to your browser. I personally use it all of the time and haven’t had any issues, but please keep this in mind.
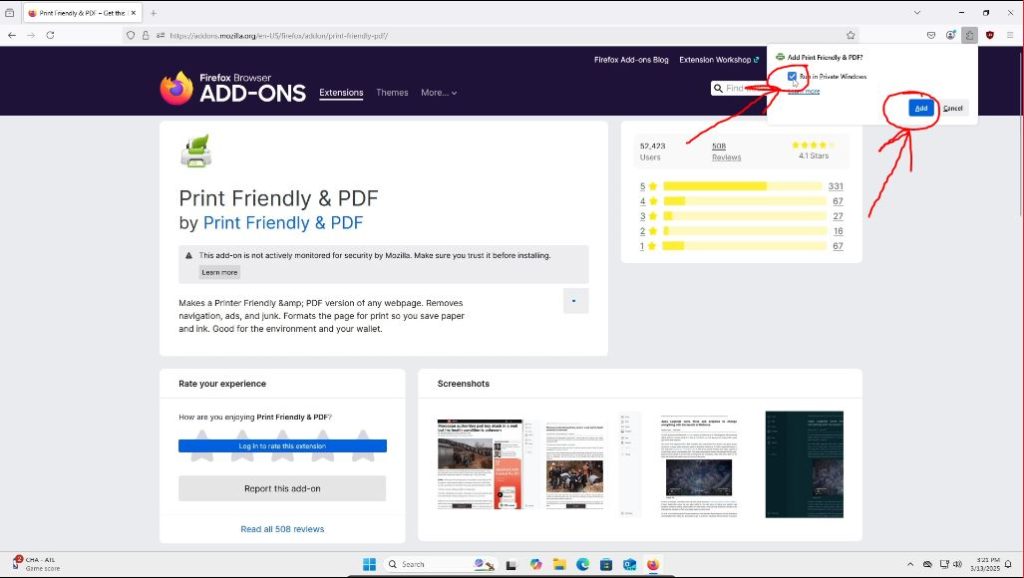
We will then be prompted by the browser in the upper right hand corner of the page to allow the browser to run in private windows. You can check this if you like, I recommend so, but it is optional. Then we can press the “Add” button to finalize adding the extension.
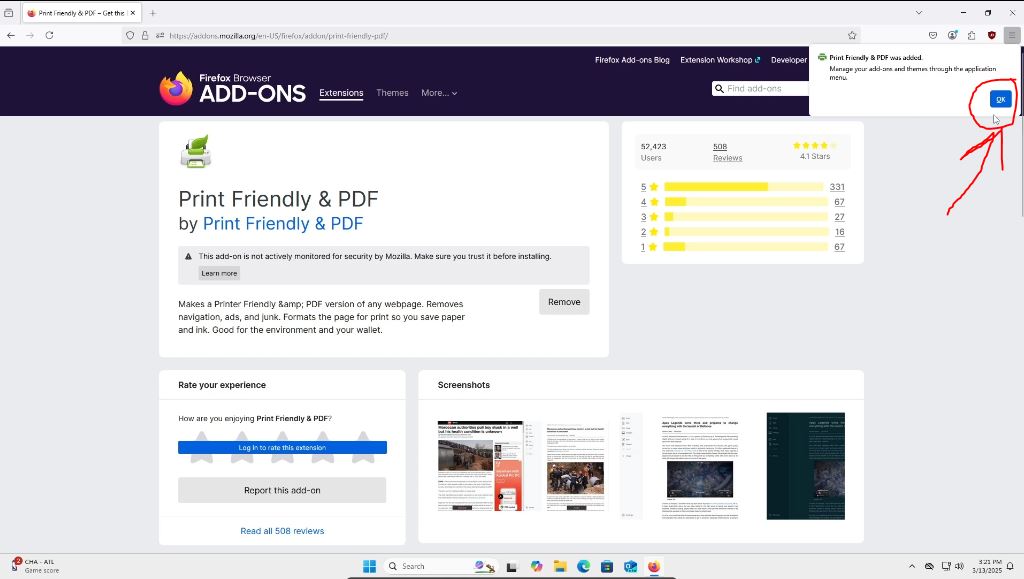
We will get another message in the same area as before notifying us the extension was added, we can press the “OK” button.
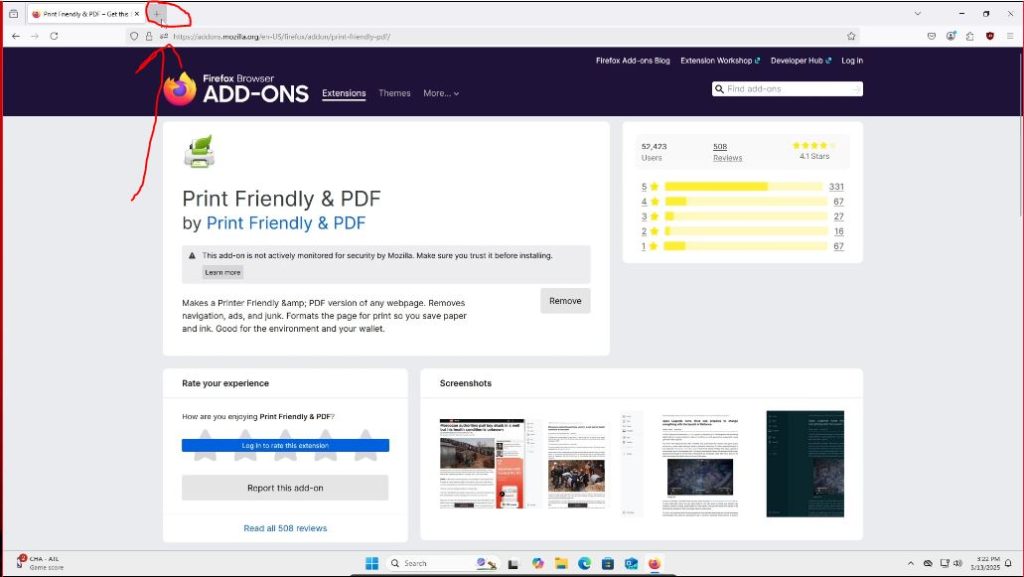
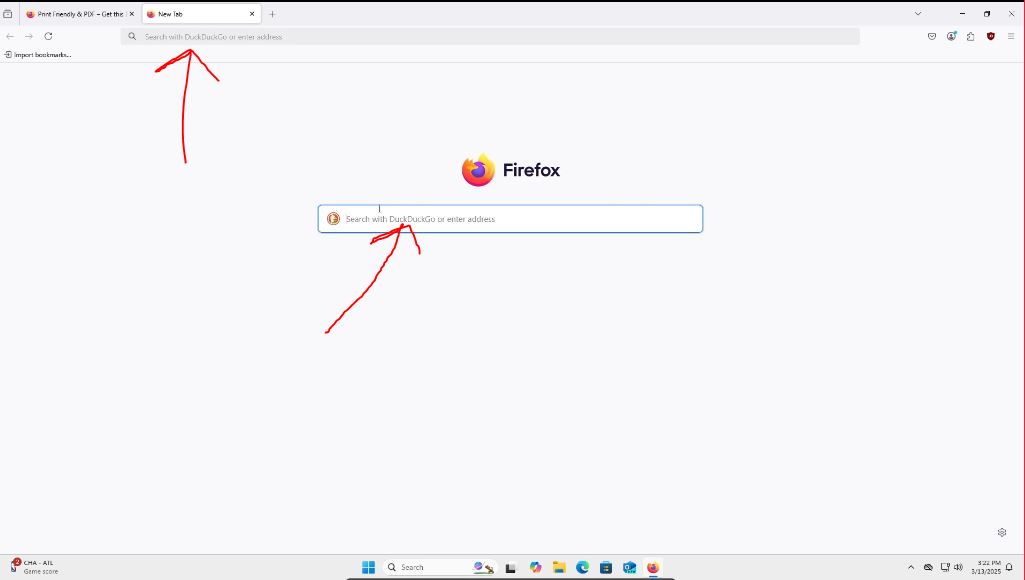
The extension has now been installed! Let’s take a look at how to use it. We can open up a new tab first.
Now that you have a new tab open, search for a web page that you would like to save as a PDF. I like to archive news articles that I read, so I chose to search for AP News. But you can search for whatever site you would like.
Then one your search result is up, click on the link to the page you want. Remember to double check any link before clicking on it.
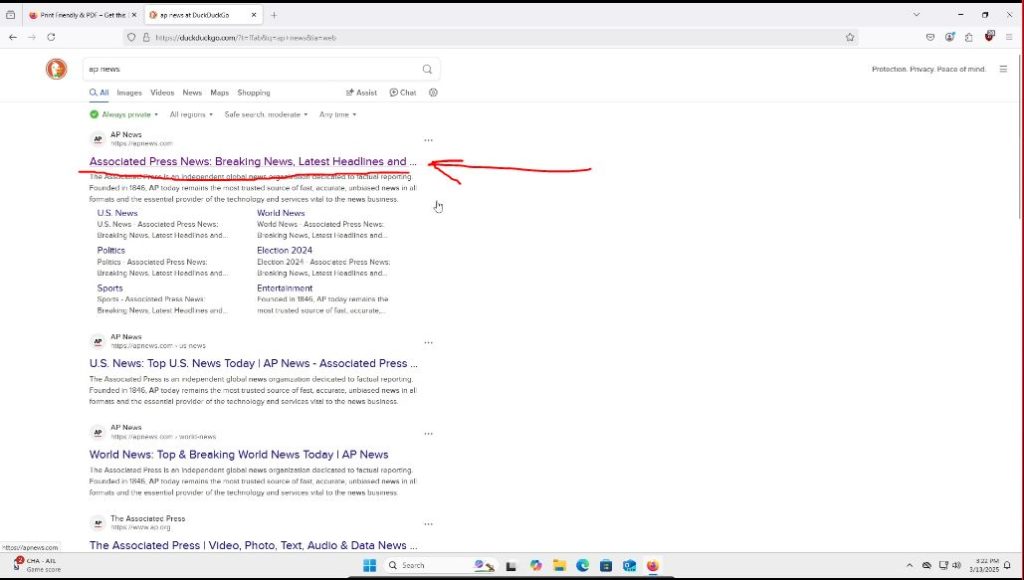
Then find an article or web page you would like to save. I just saved the first article as an example.
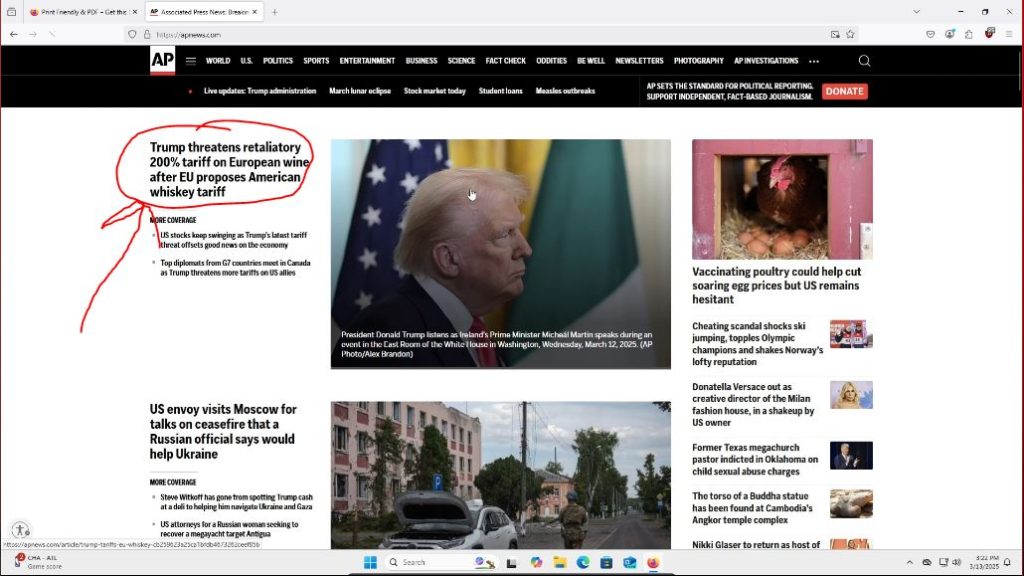
Then once you have the article/web page you want to save, you will click on the little puzzle icon in the top right of your browser to bring up your installed extensions.

A smell menu will pop up below the icon we just pressed on. Here you will want to find the extension we just installed, the “Print Friendly & PDF” extension and click on it to activate it.

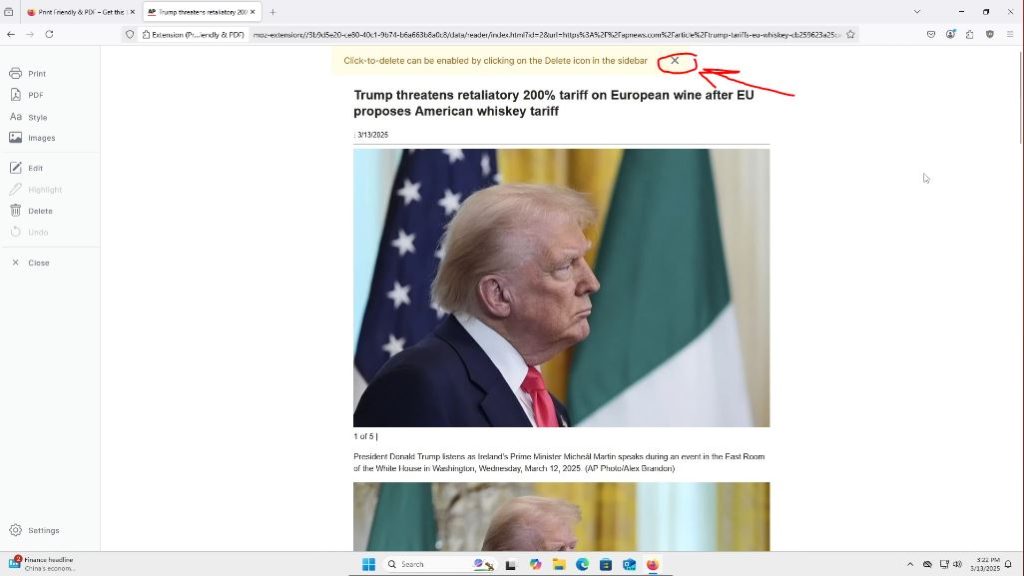
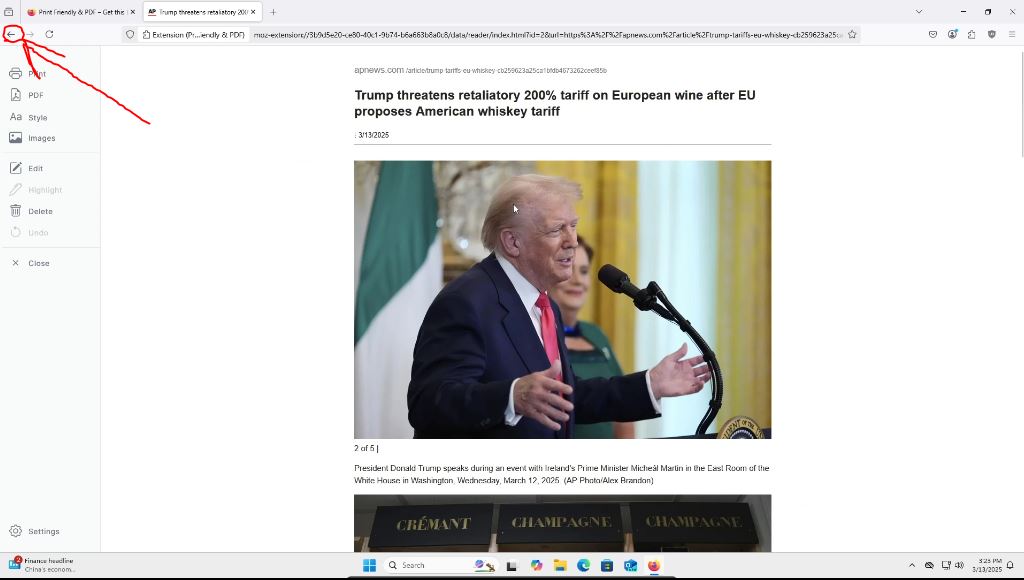
We are now taken to the extension page which does its magic and converts the page into a printable document. You can press the “X” button at the top if you get a popup like I did.
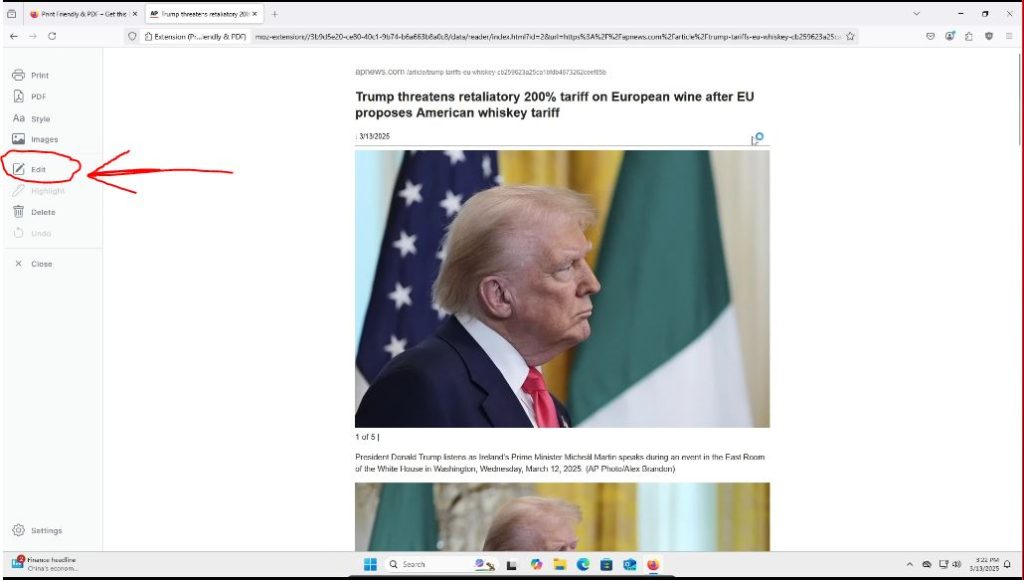
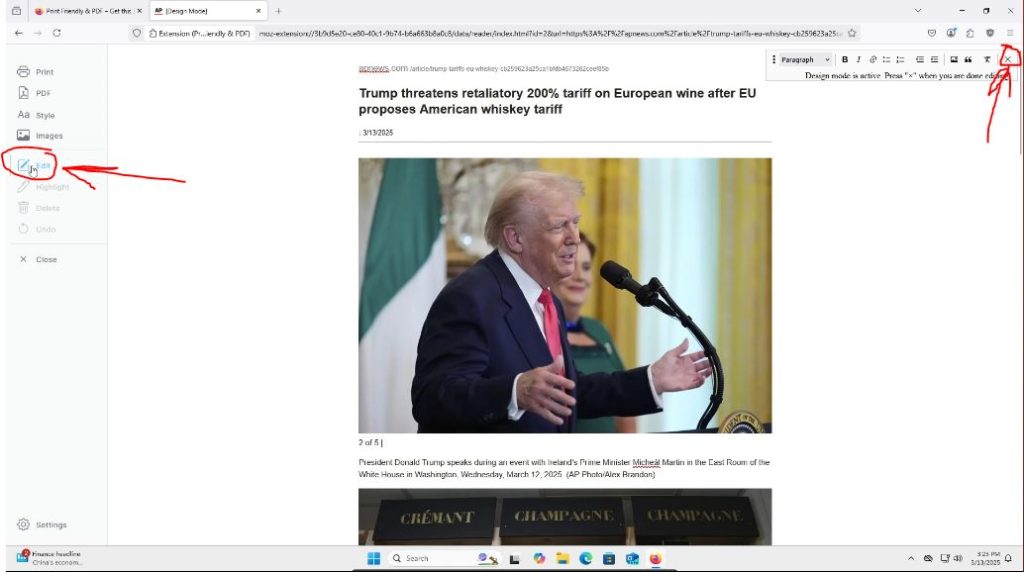
This next step is optional, but you can edit this document if you would like. Press the “Edit” button on the left hand side of the screen.
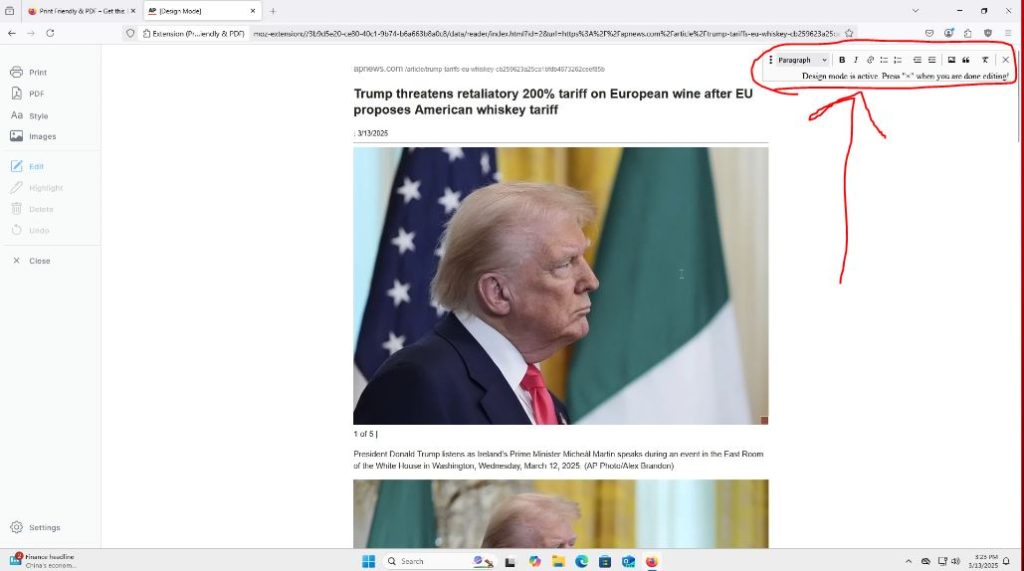
An edit box will appear on the top right hand corner of the window. This allows you to customize the document to your liking.
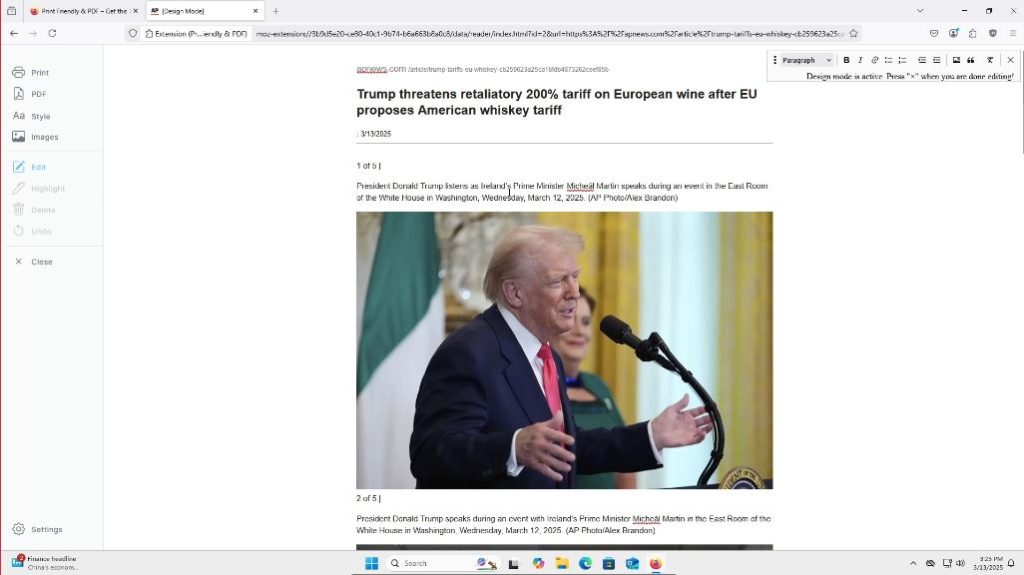
I have noticed on some sites, the first picture and caption may be printed twice. So to delete a picture when this happens you, while in edit mode, you can simply press on the picture with your left mouse button (the image will get highlighted as blue) and press delete or the back space key on your keyboard to delete the image.

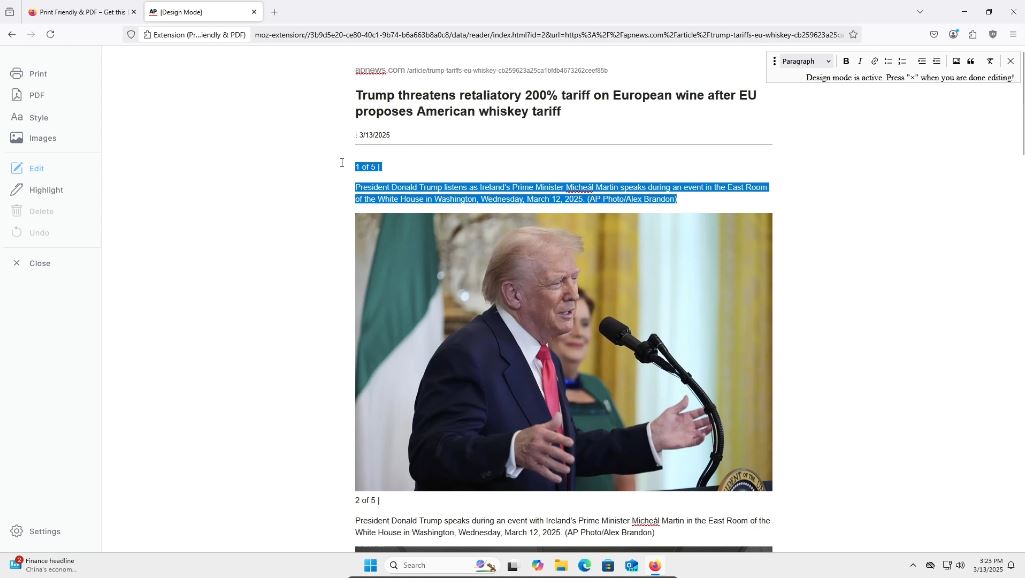
You can do the same thing with text as well if you would like. You can press and hold the left mouse button and drag the mouse cursor to highlight text. When you get to a point where you are done highlighting you can let go of the left mouse button and the highlighted text will show up as blue. Note, if you click anywhere it will un-highlight the page. When your desired text is highlighted, you can press the delete key or backspace key on your keyboard to delete the text.

I recommend playing around with the edit tools and finding what layouts and customizations work for you!
Once you are done editing the document, you can press the edit button on the left side of the page again to get out of edit mode. Or you can press the “X” button inside the edit box on the top right hand of the document. These changes save automatically. If you ever make a mistake and want to bring something back you deleted, you can press control (ctrl) + z on your keyboard to undo that change.
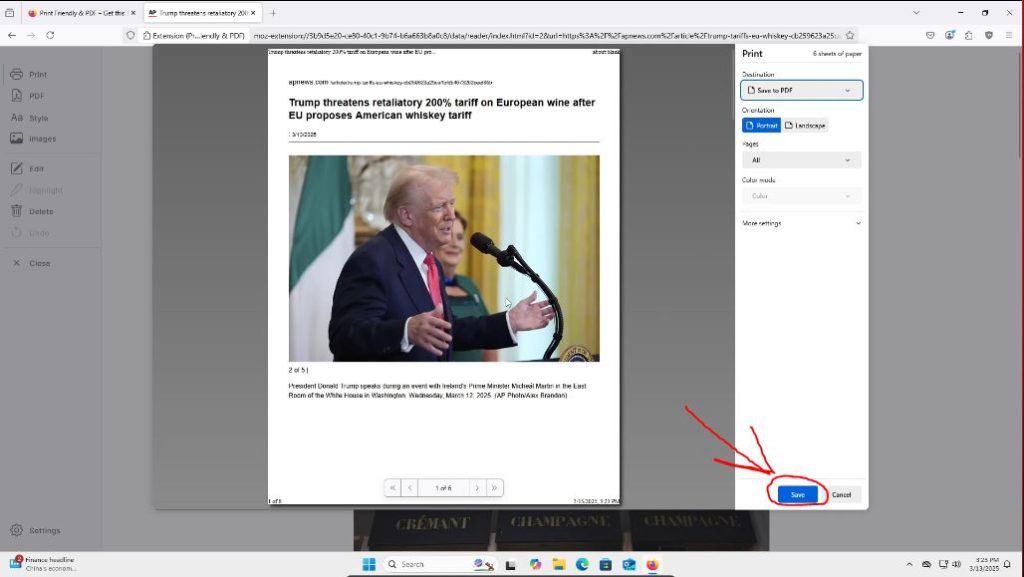
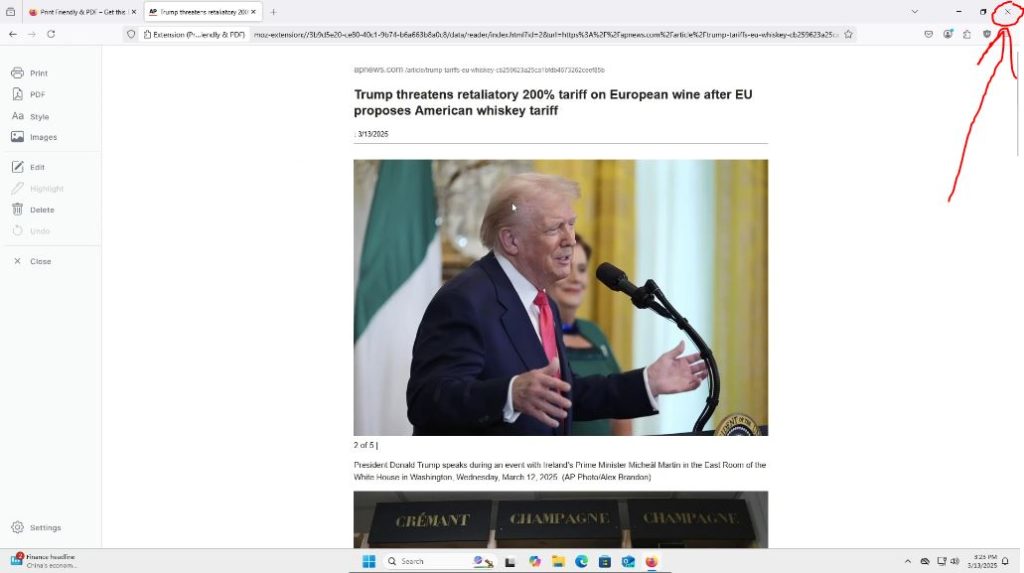
Once we are out of edit mode, we can then press the “Print” button on the upper left side of the screen like so.

We are then taken to the browser’s print function. Here you can mess around with any more settings you would like, this is optional. Once done, you can press the “Save” button on the bottom of the panel.
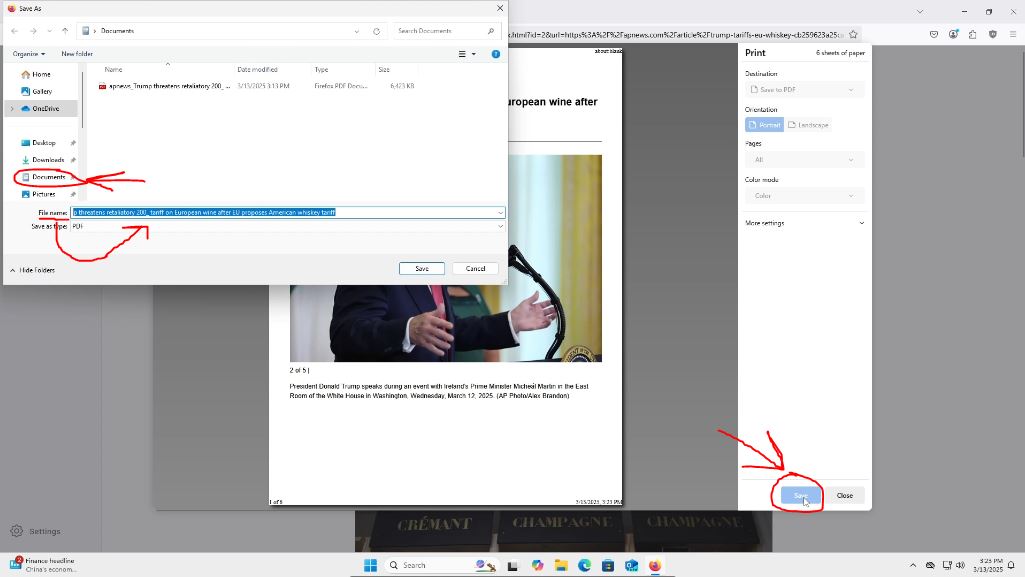
After pressing “Save” your file explorer will come up. Choose the location you would like to store the document. If you don’t know, I recommend your “Documents folder.” Once the location is selected, you can name the file as well. Name this as you’d like. I have noticed it sometimes automatically grabs the article’s name and sometimes it doesn’t. Then press “Save.” If you accidentally press “Save” before selecting a file location and naming the file, the downloaded file should go your “Downloads” folder I believe.
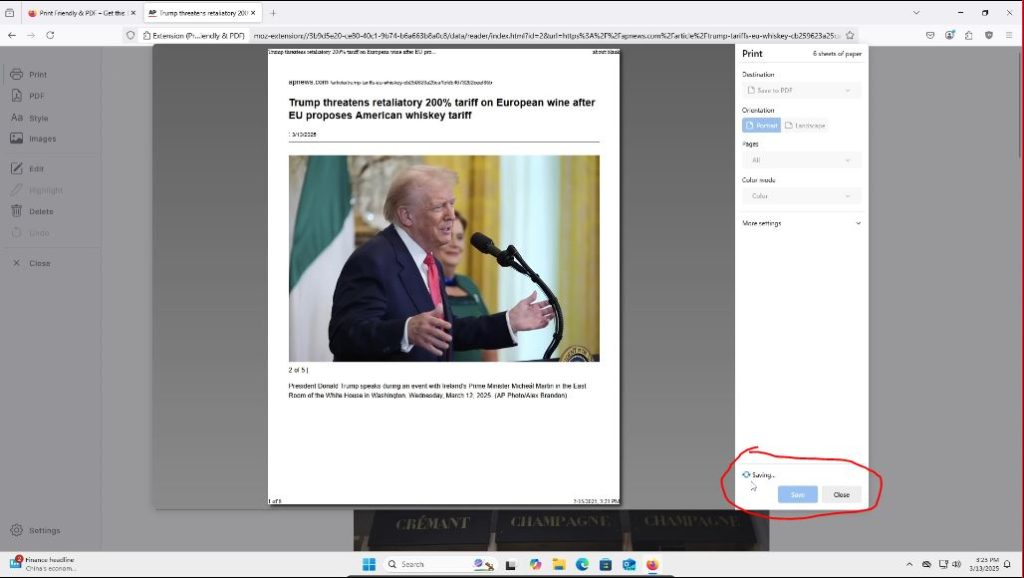
You will then be taken back to the page still using the extension. If you want to go back to the page you were viewing without the extension, you can press the back button on the browser.
Or to view the PDF, we can close out of the browser and navigate to where we just downloaded it.
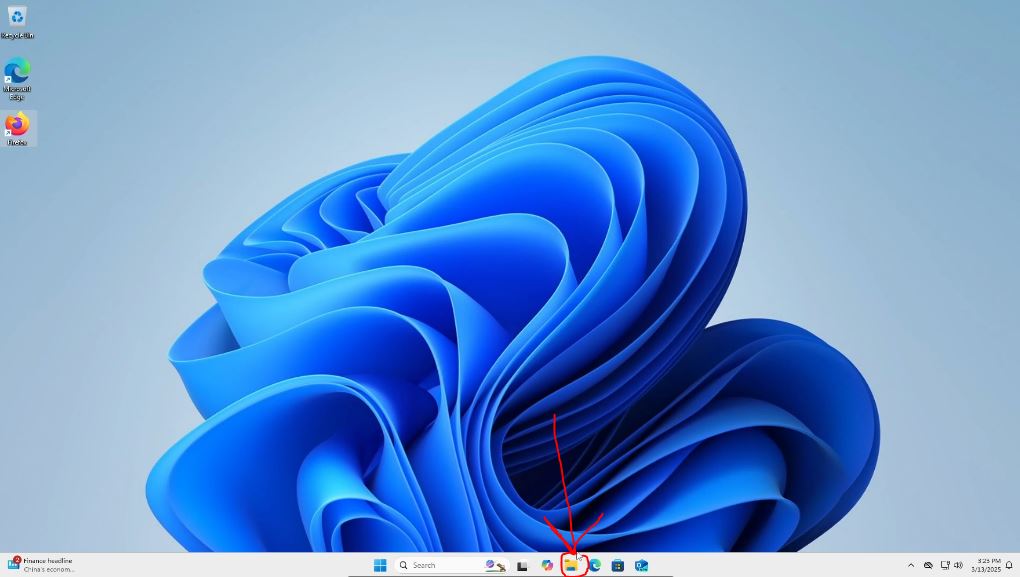
Once back to your desktop, click on the file explorer icon.
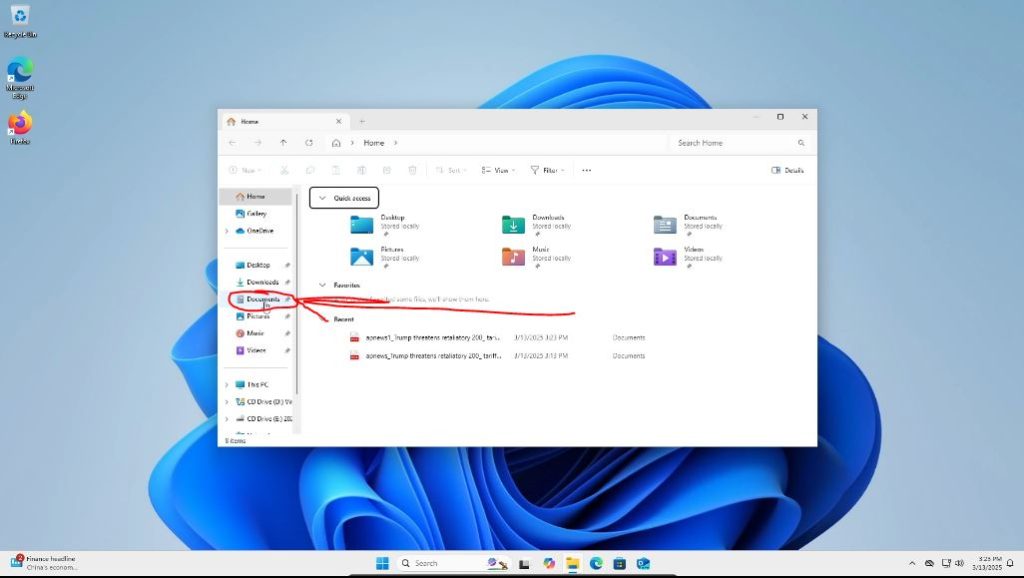
Then go to where you saved the PDF. For me, it was in the documents folder.
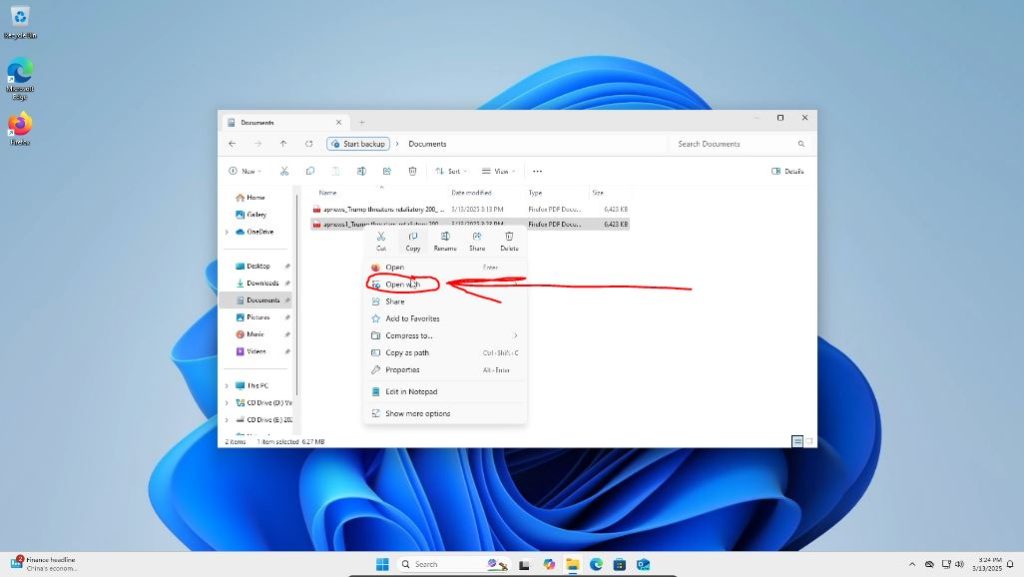
Once you’ve gotten to the file location, to view the document, you can press the right click on the mouse button while the cursor is hovering over the document. (If you don’t want to select a specific PDF viewing program, you can just double click with the left mouse button on the highlighted PDF for it to automatically open with the computer’s default PDF viewing program.)
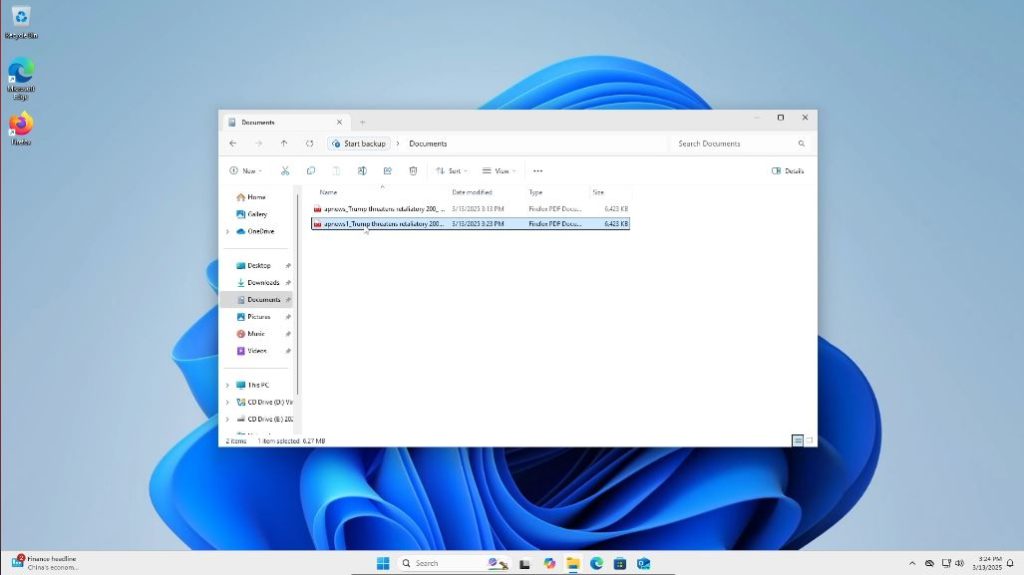
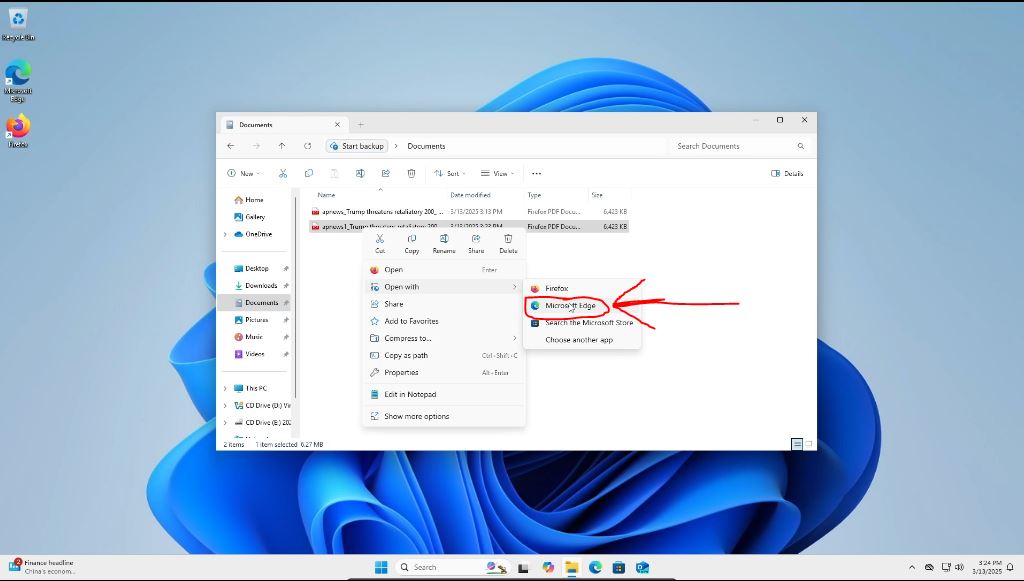
A menu will pop up below the document. From here we want to select the “Open with” option.
Then choose the program you would like to view the PDF through. I personally recommend Microsoft Edge so I can highlight text and add my own text to the document for note taking purposes. You don’t have to do this though. Choose whatever program you like. (Even though the PDF is being opened through a web browser, it will still work if you do not have internet access and want to access your PDFs.)
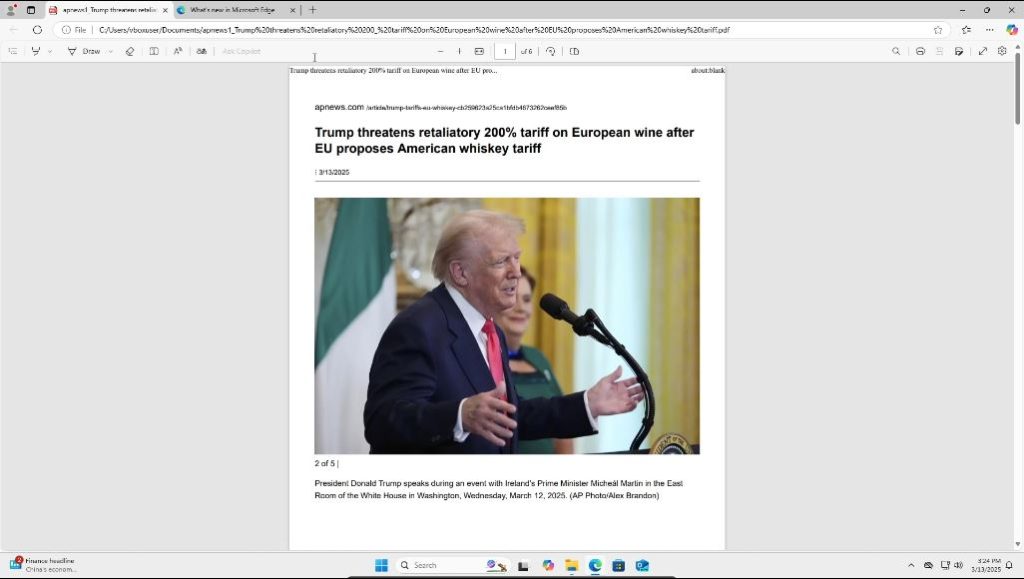
We can then look at our final product and see our web page that was converted to a PDF!
Enjoy being able to save whatever webpages you like from the web!
Thank you for reading this how-to guide! I hope it was helpful! If you have any thoughts, comments, criticisms, tips, or new posts you want to see, please let me know below or contact me directly at surfinghyperlinks@gmail.com. If you want to sign up for alerts about new posts, please subscribe to my mailing list here. If you are able to and want to, please consider supporting my work here, but please do not feel obligated! Thank you so much again! Keep on surfing the web!
Leave a Reply